
 Sign In

Templates for Perfect Patch Pockets

My sister turned 29 recently, and I neglected to buy her a present. When she mentioned that she needed skirts for the nursing program she’s starting in the fall, it seemed like an excellent opportunity to redeem myself and to try sewing with templates, wonderfully simple and useful tools that I learned about recently in Linda Lee’s article “The Unsung Tools: Sewing Templates” (Threads issue 64).
Not only do templates take the guesswork out of hemming and topstitching, you can also make them yourself out of tagboard. I cut mine from file folders. Here, I’m adding patch pockets to a skirt, and I need them to be as clean and symmetrical as possible.
Lay the tagboard on the cutting surface, then place a sheet of wax tracing paper face down on it. Set the pattern on top of that, weight everything, and run your tracing wheel around the edges of the pattern. Remove weights, pattern, and tracing paper. Use a rotary cutter to cut the template out of the tagboard.
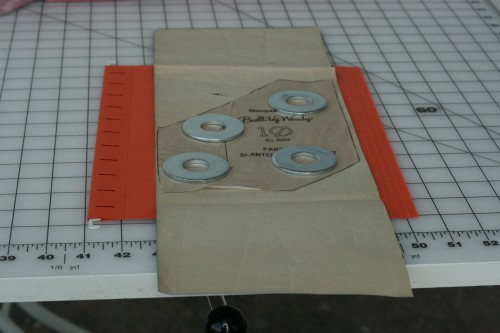
Measure, mark, and trim away seam allowances.
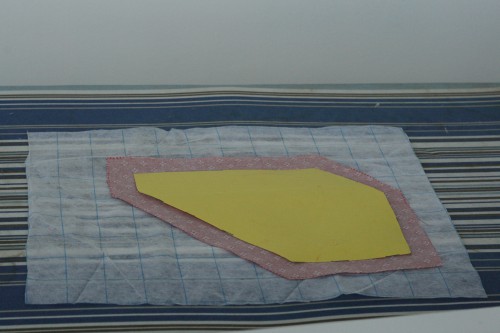
Layer the following on an ironing board: tissue paper or lightweight, sew-on interfacing; the pocket; and the tagboard template.
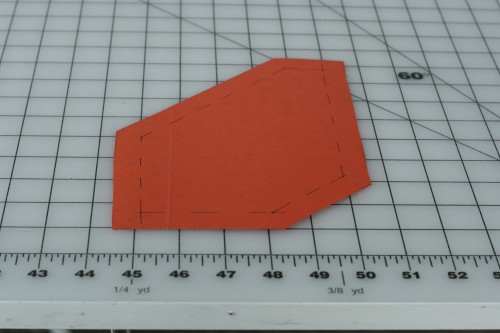
Cut corners and notch any curves of fabric.
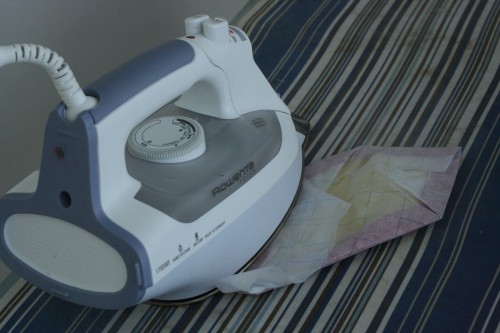
Fold edges of interfacing and fabric up over the template. Press in place.
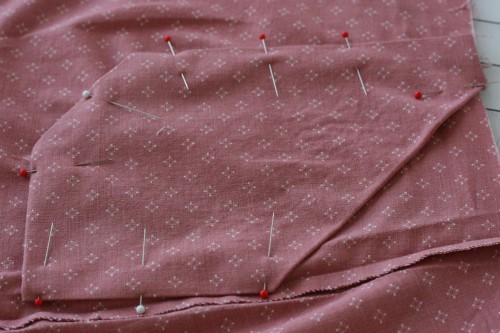
Remove template and interfacing. Pin pocket to garment, and baste. Stitch very close to folded edges of the pocket. Remove basting.
Happy birthday, sister!
Image credit: Drawing of pocket for a cool and kid-friendly project at The Purl Bee.
Comments
Kyle
August 5, 2010 #
I can relate to the part that says “My _____ turned ___ and I forgot to buy her a present.”
After that, you lost me :P
cat
August 5, 2010 #
Can you include more pictures of the process? I’m still confused – but interested in learning.
Thanks,
Cat
a. brown
August 5, 2010 #
Is the interfacing only to protect the template when pressing?
Sarai
August 5, 2010 #
I’m jumping in and hoping I can clarify for Carrie… it’s actually really simple!
The template is just a stiff board in the shape of the pocket. You press the edges around it to get sharp, straight edges that are identical on each pocket you make.
The interfacing, you will notice, is larger that the fabric piece. You can use the interfacing to gently pull the edges of the fabric up over the template.
Carrie
August 5, 2010 #
Thanks, Sarai! At any given moment, I’m only ever half-sure if I’m making sense or not. :)
Karen
August 5, 2010 #
Thank you thank you thank you! I have 24 pockets to sew onto aprons for a wedding ,the bride knows nothing about sewing and I was just sitting here trying to figure out how to get them to look spectacular! That looks like a great technique.
cat
August 6, 2010 #
Thanks for the clarification – Carrie, it all makes perfect sense… I’m just a bit slow on the uptake. Loving your contribution to the blog.
c
Carrie
August 6, 2010 #
Thank you!
sarah
August 8, 2010 #
Thanks for this! I will definitely be using it at school (I teach textiles). The kids will love it!
Sarah
Tee Jay
November 1, 2011 #
This tutorial could really use a picture of the finished project, without it I can’t imagine how that oddly shaped patch is a pocket at all and I’m a fairly accomplished pattern drafter and sewer. The drawing at the top of the page is a square but this bit with the pins in it in the final photo is a…? I’m trying to imagine that it’s a long sideways pocket, is that right?
Reader
March 21, 2013 #
The step with the tracing paper seems unnecessarily messy. I would weight down the pattern or secure it with push pins and then trace around the edges with a pencil. If necessary, I’d clean up the edges with a ruler or French curve. Then I’d cut out the oaktag.