Tutorial: How to make easy belt loops
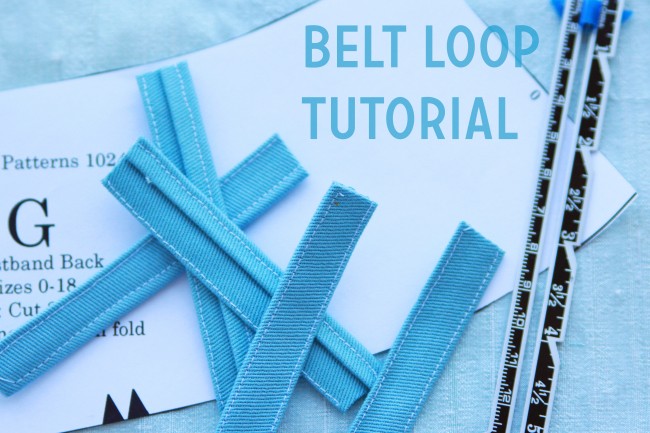
Today’s handy tutorial will show you how to make belt loops that you can easily add to any garment with a waistband from our Ginger skirt to the new Juniper pants. It’s always a nice option to pair a belt with an outfit.
items needed
- extra fashion fabric
- seam gauge or ruler
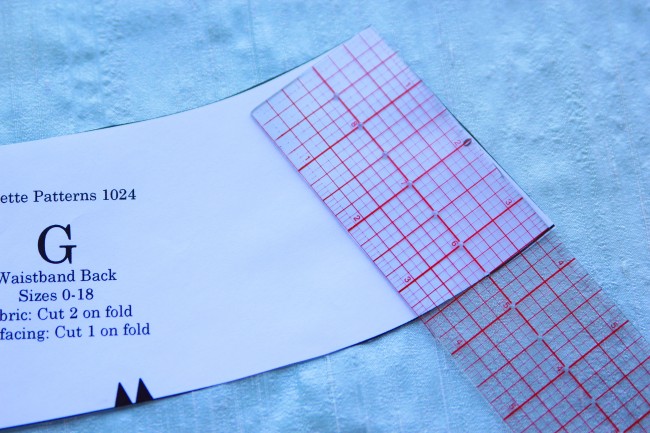
- Determine how many belt loops you want and multiply that number by the width of the waistband. For example, say I want 5 loops and my waistband is 3 1/2″ wide, the length of my fabric will be 17 1/2″. The width of the loop is up to you, but for this example I’m using 1 3/4″.
Cut out a length of fabric on the straight grain to match your measurements. To be extra sure it fits, you could always add a little more length.
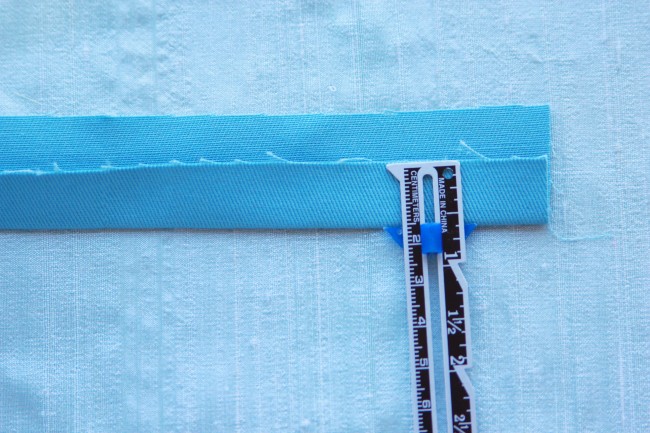
- Fold one side over by 5/8″. Press in place.
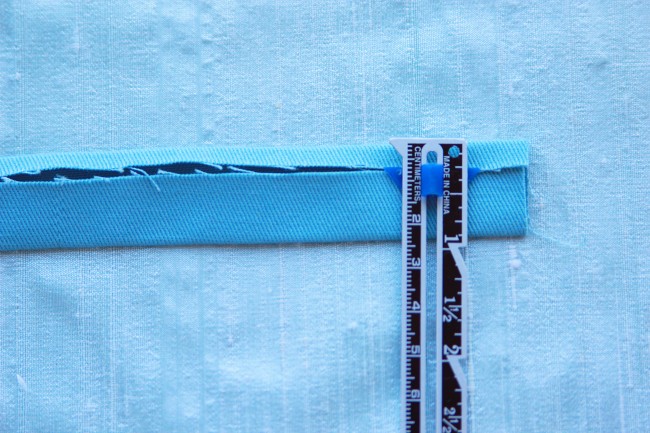
- Fold the other side over by 1/4″. Press in place.
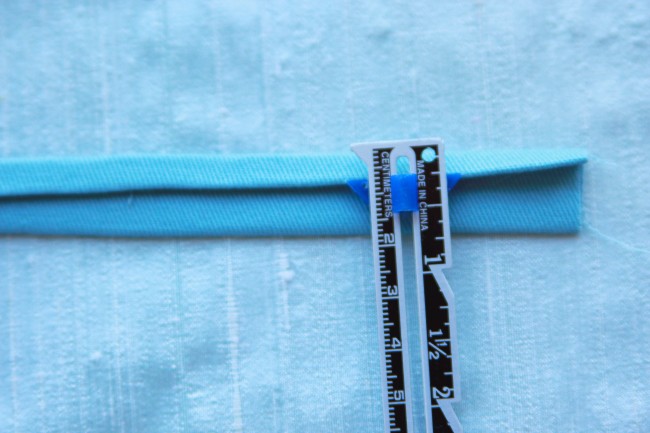
- Fold the short side over once more by 1/4″. Press in place.
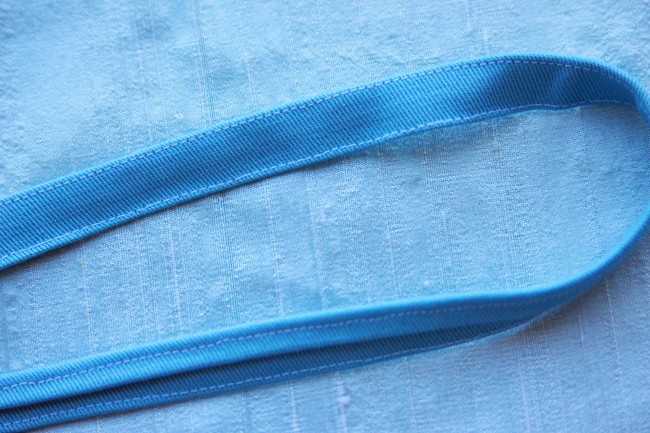
- Stitch 1/8″ from the edge of the fabric on each side.
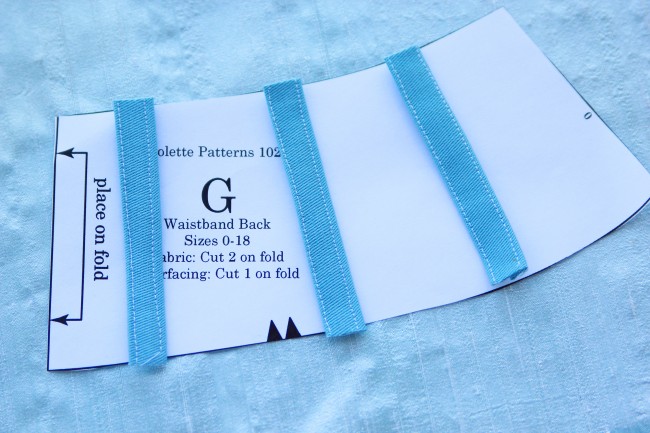
- Cut the strip slightly longer than the width of your waistband, by 1/8 to 1/4 inch. This allows a little ease for the belt. Match theraw ends of each loop to the raw edge of the waistband and baste in place along the waistband edges. Sew the waistband according to your pattern’s instructions.
You may notice that the underside isn’t sewn closed with this method. Sewing the loops at the top and the bottom, along with the topstitching at the edges, should hold everything in place.
However, if you’re concerned about the folds, you could also slipstitch the edges closed. This should only be necessary if your belt loops are particularly long.

 Sign In

Comments
Stephanie
October 29, 2012 #
Yes! No turning of tiny loops! I hate that part. I’m definitely going to give this tutorial a try next time I need belt loops. Entirely too many hours of my life have already been waisted turning tiny tubes of fabric for loops.
Christine
October 29, 2012 #
Thank you for all your wonderful Tutorials Caitlin – I refer to them often. The best of luck with your future,
Christine
Kessem
October 29, 2012 #
This is great! thanks!
question – aren’t the loops supposed to be slightly larger than the waistband so that we can insert a belt in the loops?
we’re going to miss you Caitlin!
Sarai
October 29, 2012 #
Yep, good point. You should allow a little bit of ease in the length of the loops. I edited the post to make this clear. :)
Debbie
October 29, 2012 #
I use a 1″ bias tape maker. Do the first pass through w/the iron and fold in half/press and stitch the edges. No tedious measuring involved!
Sarai
October 30, 2012 #
Great tip, Debbie!
joy
October 30, 2012 #
Gasp!!! don’t say last, I’m hopeful Caitlin will show up as a guest sometimes…..
Rachel Marie
October 30, 2012 #
There had better be some baby pictures in the Coletterie Blog’s future! Thanks for the lovely tutorial :)