How to make napkins with a fringe hem
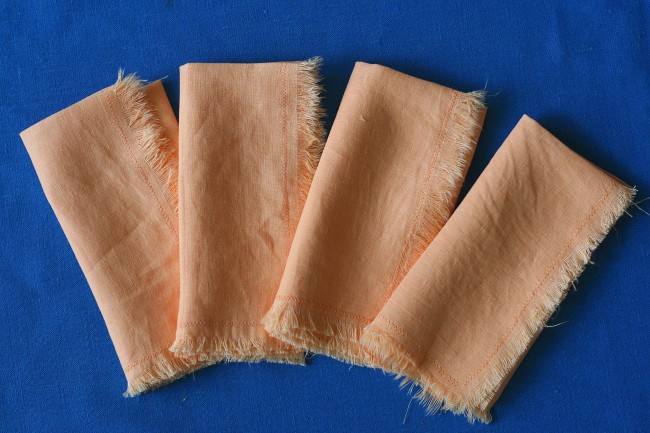
Feeling inspired by some of my favorite vintage napkins, I decided to make these fringed ones with leftover peach linen from the hemstitched tea towels
This project is pretty quick, but I’ll warn you that it’s very messy. You’ll have quite a few threads piling up as you fringe the edges. The end result is worth the mess!
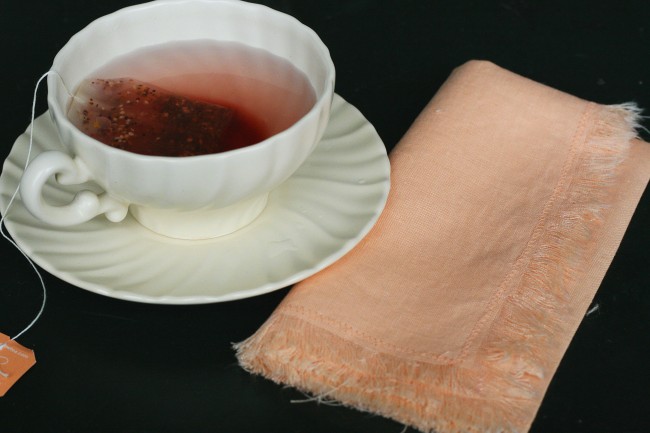
Once you’re done, sit down to a lovely cup of tea and enjoy the look of your fringe napkins like I did.
Tools needed:
- a large square of fabric
- seam ripper
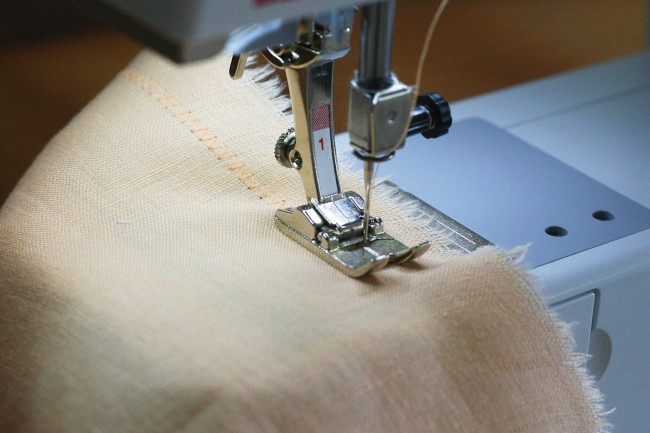
Cut a square to your desired size, being sure it is cut on grain. For this example, the square is 14″x14″. Begin by switching to a zig zag stitch on your machine. Stitch 5/8″ or desired distance from the edge.
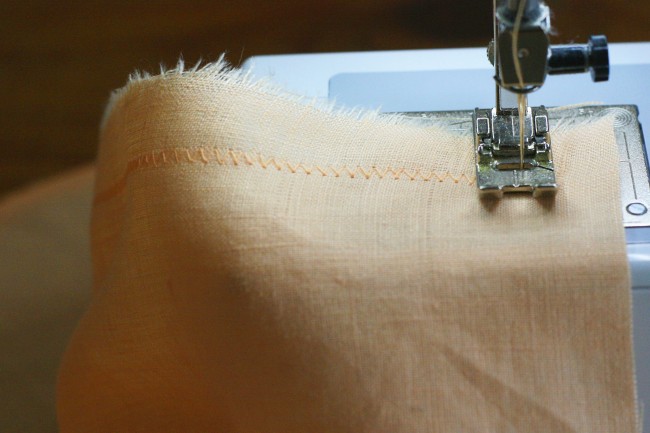
When you reach the corner, sink the foot down and pivot the fabric. Continue stitching until you’ve stitched along all the edges continuously. Snip the threads.
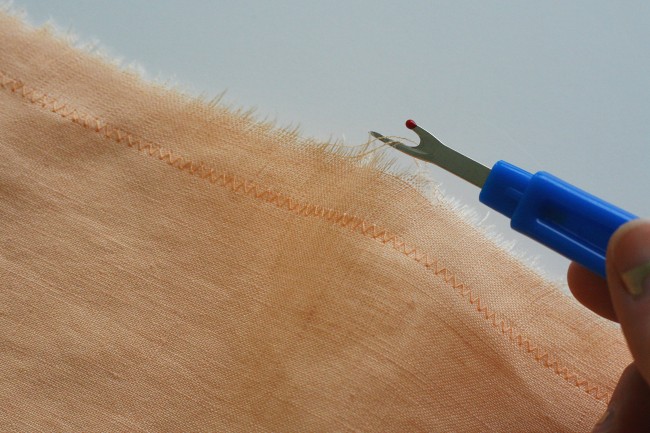
Using a seam ripper, gently pull a few threads from the selvedge as shown. Pull them out with your fingers. The threads will come away easily if you’ve cut the napkin squares on the grain.
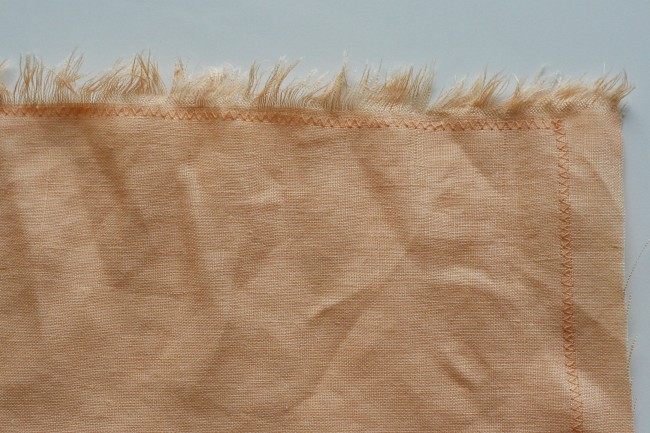
Your finished edge should look as above. You can choose to continue pulling threads to the stitching or keep a few as an extra barrier. Repeat the last step on each edge to complete.

 Sign In

Comments
Emilee
June 19, 2012 #
When I’m going to be fringing something, I find it goes so much smoother if I tear the pieces in the beginning instead of cut them. Then I always get a perfect grainline. (Of course, it doesn’t save much time, as the tearing necessitates significant pressing before sewing.)
Caitlin
June 19, 2012 #
I did rip along one side but I found that it made this particular fabric look bad along that side. It rippled quite a bit and damaged threads that were a part of the body of the napkin and not the fringe. I think it really depends on the type of fabric. Ripping is definitely faster but it’s probably best to test it out before ripping a large piece.
kiki
June 19, 2012 #
cute way to use left over fabric . I like the shot with the teacup. What kind of tea is that?
Caitlin
June 19, 2012 #
It’s peach tea :)
angela
June 19, 2012 #
I love all the tips and ideas I have benn getting off your site. Sometimes I do some of these same things but I am unsure of my methods and you always reinforce the correct way. I just did this with some Marc J wool material to make a scarf. It was messy!
Maddie Flanigan
June 19, 2012 #
super super cute and you’re right – very easy!
Jan
June 20, 2012 #
I made some of these—actually dozens of them—about 20 years ago. I used cotton leftovers from a quilt I made and some “old” house dresses of my grandma’s. (Today I’d call them vintage, but at the time they were old clothes she’d saved to piece into quilts.)
Anyway… since it was a nice weight cotton I was able to tear them into squares. Mine were just shy of 15 inches. The quilting fabric was 45″ wide I tore off the slevedges and then into thirds.
The fabric was a close weave—good for quilts—and I used a pin to pull the threads apart to create the fringe. I didn’t stitch around the edges like you’d need to with a loose weave.
I’ve used and washed these for ever since. There were some stray threads the first few times I washed them, but the fringing stopped on its own at about 3/8 of an inch.
Great idea and excellent tutorial!
Jan
Joyce Lewis
November 24, 2013 #
I washed my yard of cotton first & saw that it had ‘fringed itself’. I then cut the material in squares & then re-washed . Voila! Most of the fringed edge was done. I then pulled the thread or threads out to make the edge even. I haven’t decided yet if I will stitch a design to keep the fringe from traveling. A few washes will probably be the deciding factor.