
 Sign In

Tutorial: How to make your own piping
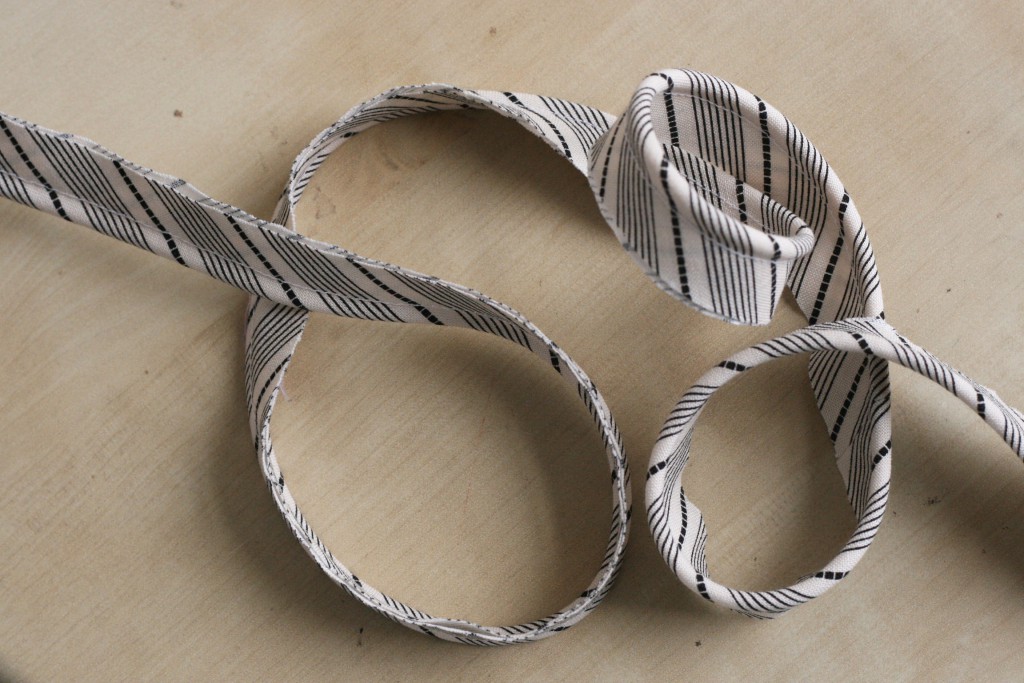
Piping’s fun to play with, but the choices at the fabric store can be a bit dismal.
Making your own piping opens up a world of possibilities. You can go subtle with piping made from your garment’s fabric, or bold with contrasting or patterned piping.
We’ve talked about using flat piping as a detail on the Ginger skirt, and how to make covered cording for surface details.
Today, you’ll learn how to make piping with a seam allowance. This is similar to the piping you’d buy at the store, and is meant to be sewn right into a seam.
You’ll need:
- Bias tape, either purchased or made from your own fabric.
- 1/8″ wide cording
- Zipper foot
- Pins
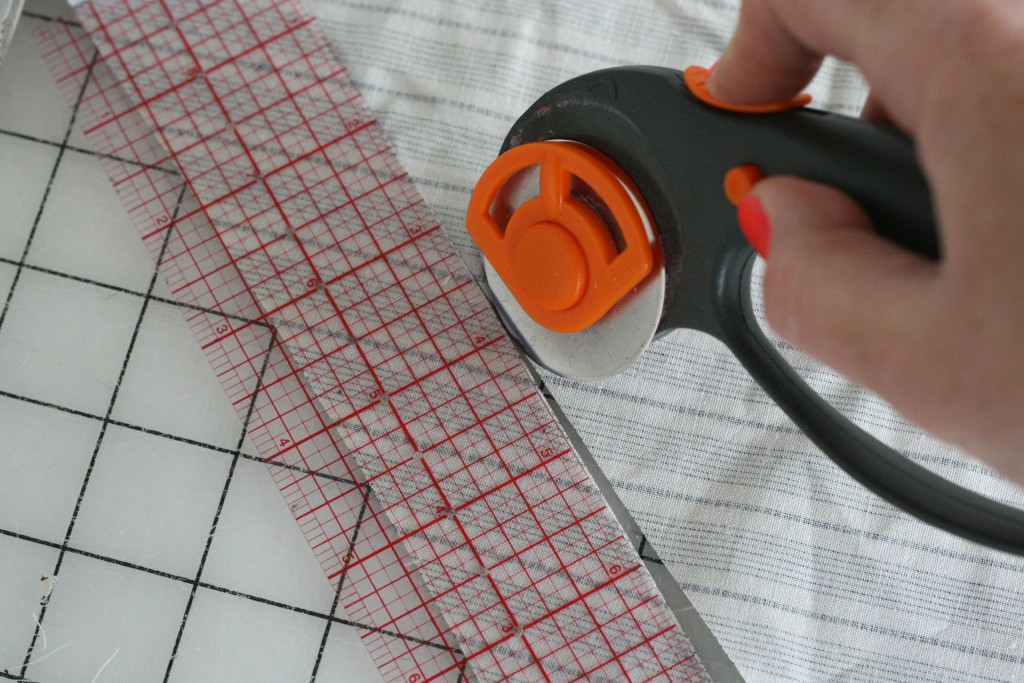
1. For bias tape, use store bought tape or tape you’ve made with this handy tutorial on making your own bias tape. Either way, it should be wide enough to encase the cord and leave enough fabric to be sewn into the garment’s seam allowance.
For this tutorial, I’m using 1/8″ wide cord. I want to make piping that has a seam allowance of 5/8″, so I can sew it into a seam later.
To ensure the tape is wide enough, double the width of the cord (2 x 1/8″) and double the seam allowance (2 x 5/8″). Added together, the total amount is 1 1/2″ for the width of this bias tape. Follow this little math equation:
(2 x cord width = _____ ) + (2 x seam allowance = _____ ) = total width of the bias tape.
Note: If the final seam allowance is a little short, don’t worry! Simply mark the seam allowance line on your garment and match up the finished piping by pinning in place.
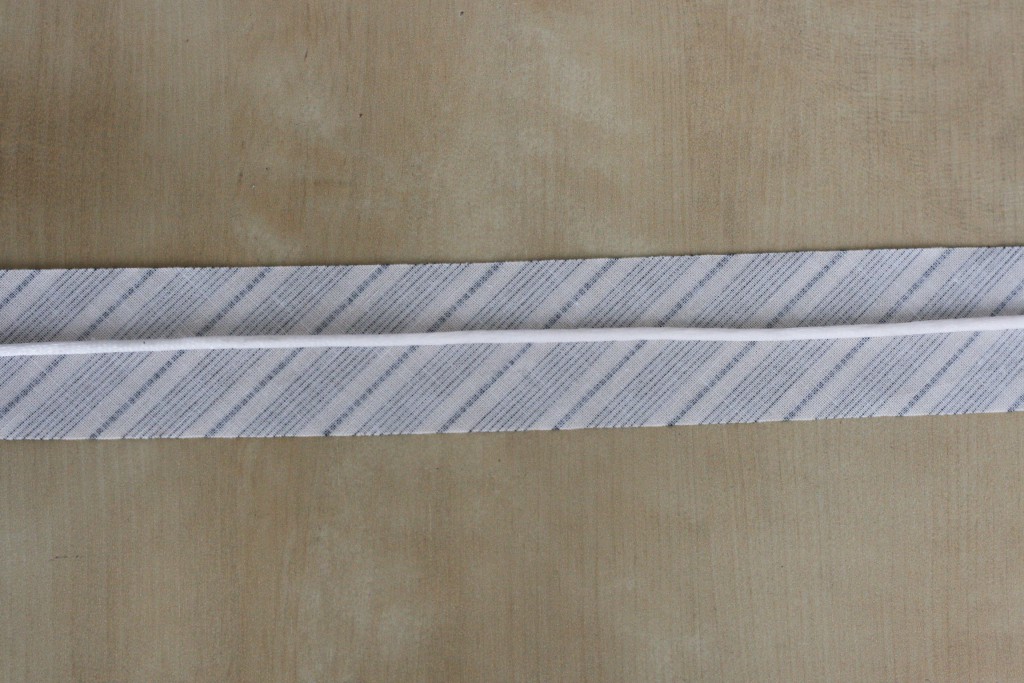
2. Place the cording in the middle of the bias tape strip. The wrong side of the fabric should be facing the cord.
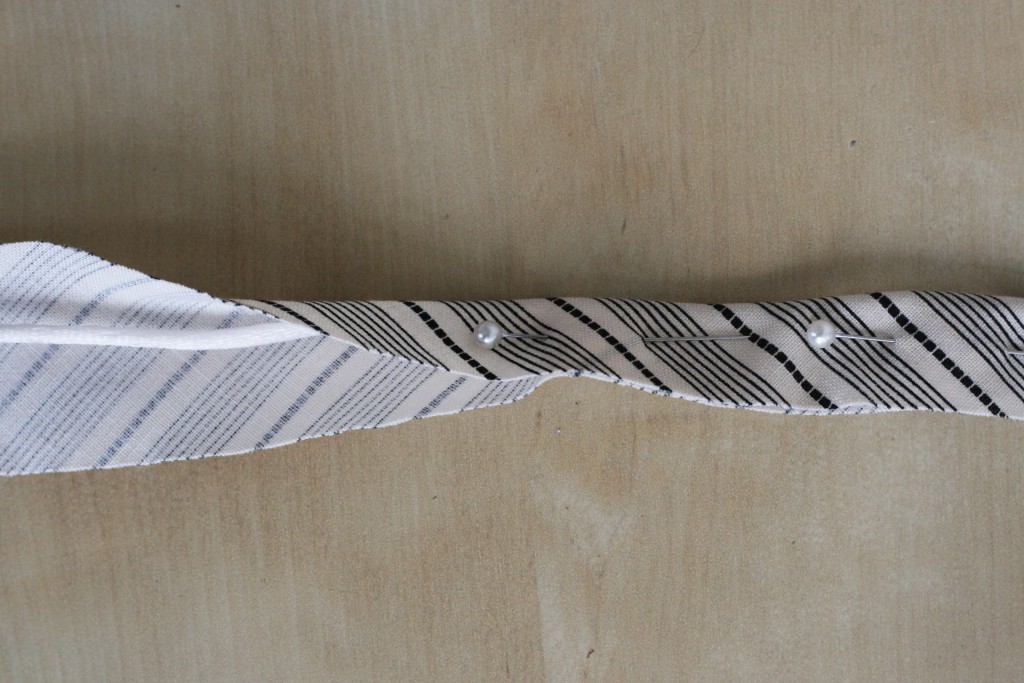
3. Fold the tape over the cord. Pin in place with both edges of the bias tape matched up.
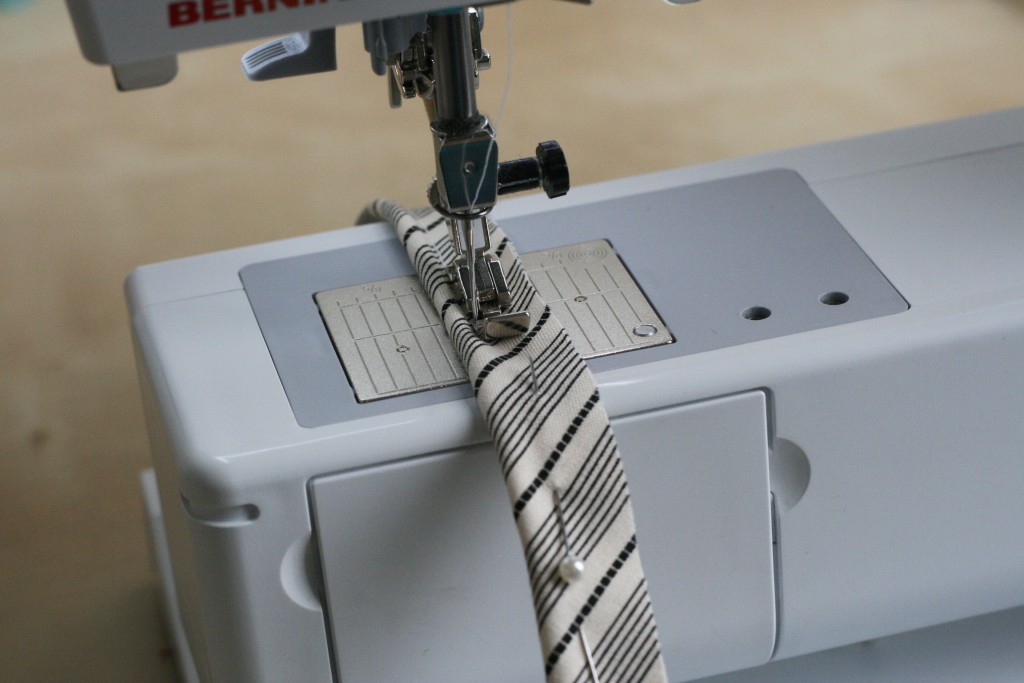
4. Attach the zipper foot to your sewing machine. Place the cord as close to the needle as possible. Sew slowly, making sure to keep an even line close to the cord.
That’s it! Practice a bit to really get a hang of sewing close to the cord before using it on your final fabric. Stay tuned for a tutorial later on about how to sew piping into a seam.
And if anyone has more tips or ideas for making piping, let’s hear them!
Some related posts you might be interested in:
- Tutorial: Flat Piping: A great tutorial showing how to sew in flat piping on a curve
- Tutorial: Surface Cording: Surface cording is very similar to rouleau, but it’s usually sewn in a design straight onto the fabric. Here’s a tutorial on how to do it.
- Detail Inspiration: Piping: Some beautiful examples of piping in vintage and modern garments.
Comments
thezenofmaking
August 1, 2011 #
I love the way piping looks, but never thought to make my own. Thanks for the how-to!
Blanche Neige
August 2, 2011 #
Hi!
I just used piping for the first time yesterday, but it is good to know how to make it, a very interesting tutorial. Do you think it is possible to make piping with any fabric? like jersey for example? and with an elastic in the middle, instead of the cording?
Let me explain my idea : i’m doing a jersey tshirt, and want to add piping around the armholes and around the neck. Because my fabric is strechy, don’t you think it could be better that my piping stretches also a little bit?
Silly question maybe, sorry!! and i hope my english is understandable :)
iamnotanoctopus
August 2, 2011 #
So if we use store-bought bias tape, should we press it out flat?
Sue Jackson
August 2, 2011 #
I’ve often made my own piping. I prefer to cover white pre-made piping with my own fabric. Following the same directions as above, use the white piping in place of the cording. I find this way the twist in the cord doesn’t show through, especially with lighter weight cottons.
Glad you posted this tutorial. It’s nice to see the basics explained. Thanks.
lisa shepard stewart
August 3, 2011 #
Nice. I’ve also made piping using fusible tape instead of stitching it. I just place the tape against the wrong side of the bias strip, place cording over the fusible tape, fold the bias strip & fuse. Fusing gives it a nice amount of body – I use piping mostly in home dec & handbags, where the firmer edge is a plus.
ludmi
August 3, 2011 #
Excellent tutorial! Thanks for sharing. I’ve done, but I’ve put cable, which makes it harder. I like this idea!
Jan
August 4, 2011 #
Thanks for this! Piping adds a nice touch to pillows or purses or whatever. I really like using a bold graphic print of any style that disappears into random sections of color. I’ve made piping before, and for me the hard part is clearing my worktable to make space to cut bias strips!
tingtingmamma
August 4, 2011 #
What a great tip to baste the cord to the short ends before sewing the long sides! Thank you for sharing.
mariacollege
November 24, 2011 #
Thanks for posting this fantastic tutorial. I am about to finish making my own bias tape cording from a curtain.
marcus
November 7, 2012 #
I would recomend buying a piping foot for your sewing machine then pins are not required and you can make piping out of any fabric quickly.
Margreet
April 9, 2013 #
I’ve been doing this for years. It would be nice for beginners to know how to sew the strips of fabric together the correct way to make longer piping (for larger pillows etc.) Thanks.
Maria McGrath
December 20, 2013 #
Thanks so much. I’m trying to get a nightshirt done by Christmas and two separate stores were out of narrow corded piping. This gave me the confidence to try (and reminded me to use bias strips, not just straight up-and-down.)
how to text a girl you like
May 7, 2014 #
My brother suggested I might like this website.
He was once entirely right. This submit truly made my day.
You can not imagine just how much time I had spent for this information!
Thanks!