Tutorial: Make an easy scalloped hem
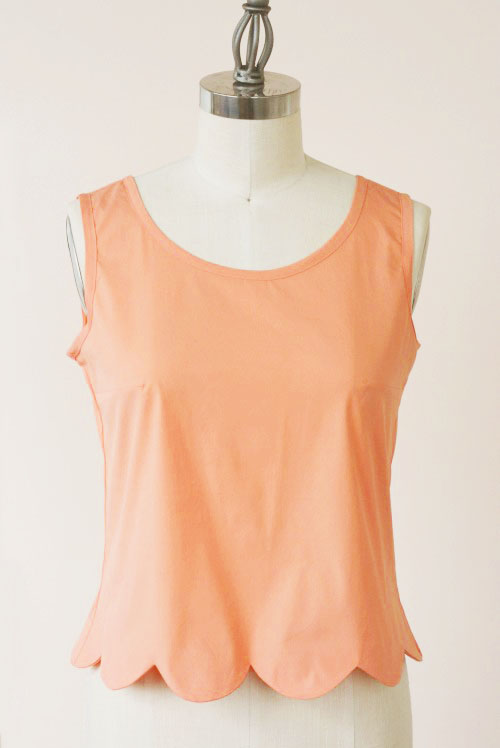
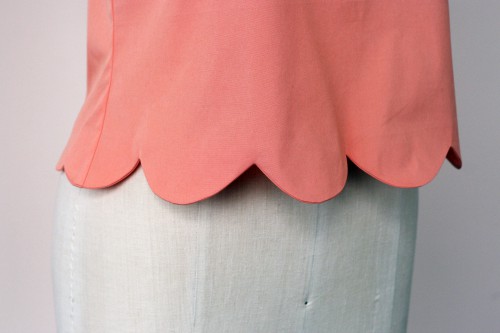
With our scallop inspiration post in mind, we created this tutorial on creating your own scallops. For this project we took the Sorbetto sans pleat and added a fun scalloped hem. You can use this tutorial to add scallops to almost any hem if you like. Highly customizable, you can make the tiniest scallops, deep scallops, you name it, you got it!
-
Tools Needed:
- Paper
- Scissors
- French curve or rounded object like a can
- Straight ruler
- Point turner
- Sorbetto without pleat, or anything with a straight hem
- Marking tool such as tailor’s chalk, fabric marker or fabric pencil
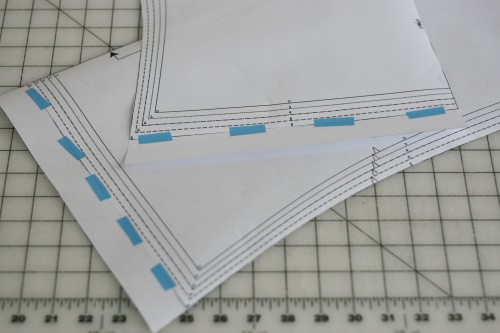
1. Lengthen your pattern’s hem. For this project we used the Sorbetto top and followed this tutorial to remove the center pleat. Once you’ve removed the pleat, you need to extend the hem by taping paper to the pattern. For this hem, I added 1 1/4″.
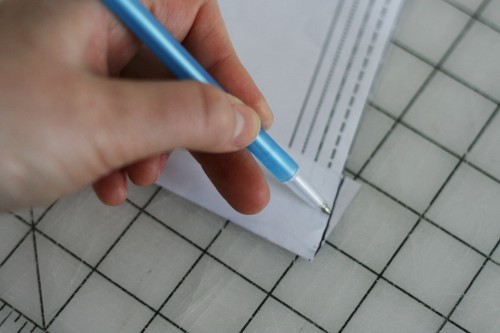
- Fold the added paper up at hem. Mark along the pattern line.
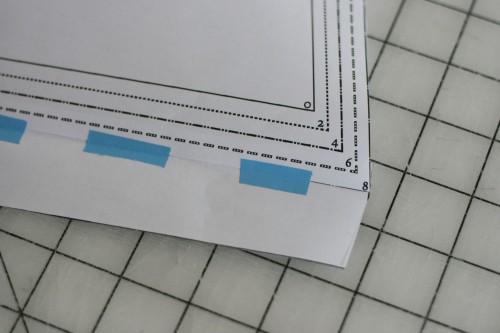
- Fold back down and cut along the line. You’ll see that the new hem is a light V shape on the side. Do this to the sides of the front and back. Because the side seam is sloped and not straight this will keep the hem from buckling. It will now lie nice and flat on the inside.
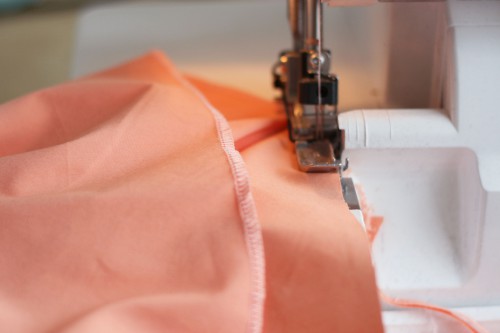
- Cut out the fabric and sew the shirt following the directions given. Stop when you reach the hem. Use pinking shears to pink the edge of the hem or serge it as I’ve done here.
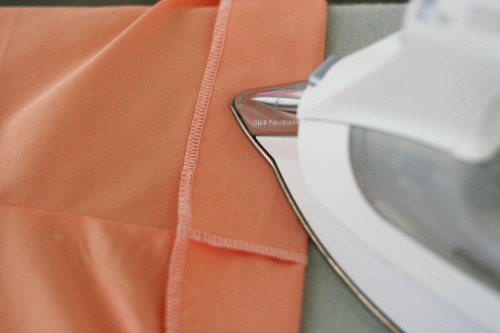
- Fold the hem. The hem plus the seam allowance is 1 7/8″ (remember we added 1 1/4″ to the hem, and the existing seam allowance was 5/8″… 1 1/4 + 5/8 = 1 7/8). Fold the fabric this width all the way around the garment, right sides together. You’re folding it to the outside. Lightly press the fold to keep it in place.
-
Calculate the width of each scallop. Start by measuring the total length of the hem. For this shirt there will be 11 scallops. So divide the total length of the hem by the number of scallops. In this case it is 42″ divided by 11 equals approximately 3 7/8″. Each scallop will be about 3 7/8″ wide.
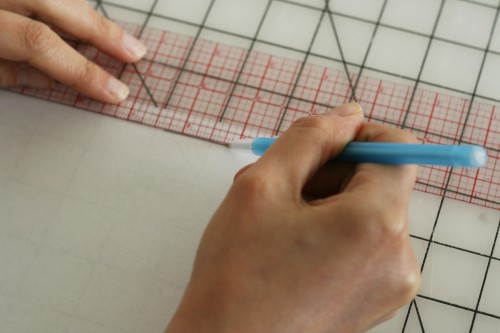
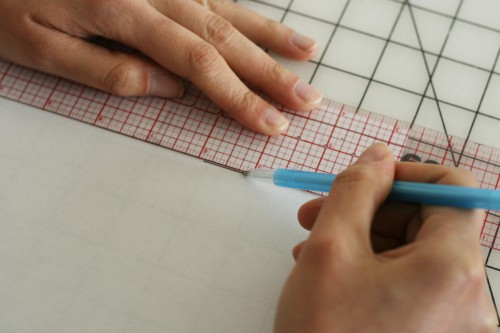
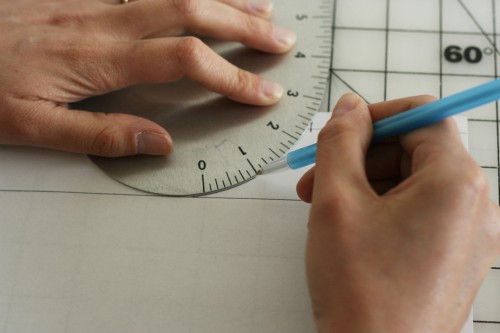
- Time to make a paper template. Draw a line 3/8 from the edge of the paper. This will be the distance from the top of the hem’s finished edge. Mark along the line every 3 7/8″ (or the width of your scallops).
- Draw a line for the bottom of the scallop. This must be smaller than the hem width (in our case, 1 7/8″). In this case I drew a line 1 3/8″ from the top line.
- Using a French curve or a can, draw your scallops. Cut out the template and put it on the fabric.
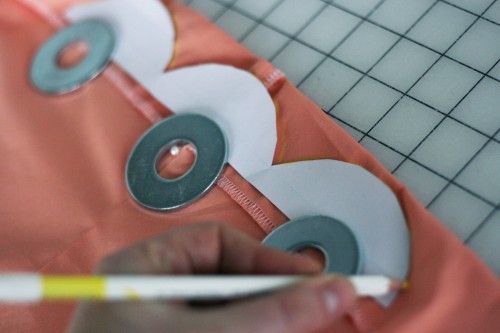
- Trace the outline of the scallops onto the hem with marking tool. If the scallops are a little off, go ahead and sketch them to fit. It’s okay if it’s not perfect!
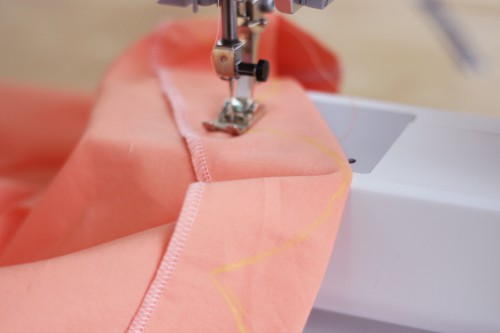
- Stitch on the lines. Shorten the stitch length to around 1.8. This makes it so much easier to sew those curves. Start and end at each point. Lift the presser foot and adjust the fabric at each point. Repeat until all scallops are finished.
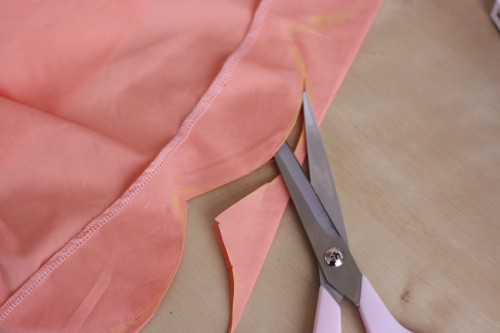
- Trim the seam allowance. Trim close to the edge, about 1/8″.
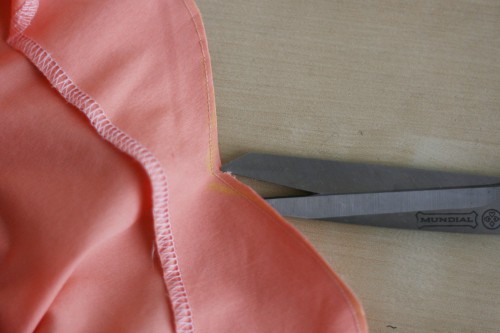
- Carefully snip to the point between each scallop. Get as close to the stitching line as you can without cutting the thread.
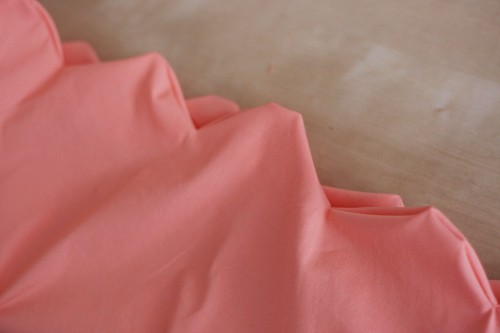
- Flip hem to the inside. The scallops should look a bit disheveled like so.
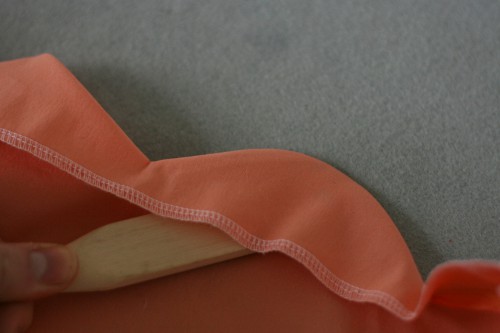
- Push the scallops out. Using the smooth, curved side of your point turner, push along the inside of each scallop. This has to be done a couple of times to really get the scallop in shape. Press each scallop as you go.
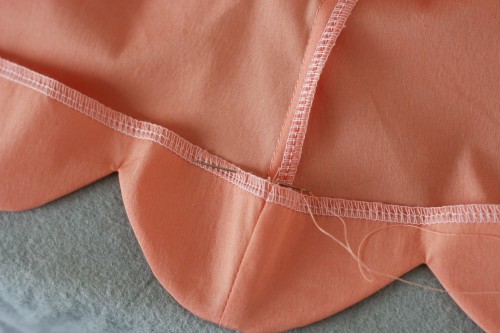
- Hand stitch the hem for a clean finish.
And a lovely scalloped hem is yours once done! If you decide to try this out, show us what you’ve made in our forum and in our flickr pool. We love seeing our tutorials come to life!
Some related posts you might be interested in:
- Detail Inspiration: How to use scallops: Some vintage garments and patterns that use scallops in a variety of lovely ways.
- Sorbetto top pattern: Our free downloadable pattern for the Sorbetto top!
- Tutorial: Make Sorbetto without a pleat: Here is the tutorial that shows you how to modify Sorbetto to eliminate the front pleat.

 Sign In


Comments
Jennifer B
June 27, 2011 #
What a beautiful finish! I love how it feminisms the simple shirt without adding clumps of ruffles or flowers! Adding the weight of the 2nd layer to the finished hem keeps everything in place too.
I can’t wait to try it! Thank you!
Sarai
June 27, 2011 #
Agreed! I like that scallops are girly but not too fussy (though I like the occasional ruffle or flower too!)
Lauren
June 27, 2011 #
y’all must have been reading my mind – i was just thinking about how cute the ginger would look like a scalloped hem! suhhh-weet! can’t wait to try this one out :)
Sarai
June 27, 2011 #
It would look awesome with a scalloped hem! Especially the variation with the sweetheart type waistband?
Emma
June 27, 2011 #
All of the tutorials make it look so easy. They are well written, and the photos are visual descriptive. And, the other tutorials I have tried actually turn out to being easy, following your instructions. Cannot wait to try sewing scalloped hems!
Sarai
June 27, 2011 #
Thanks so much, Emma (from both me and Caitlin). I’m glad you find them clear!
Sunni
June 27, 2011 #
Totally lovely! What a great addition to a hem of any sort really! This is beautiful! xoxo, Sunni
Sarai
June 27, 2011 #
Yeah, it would really work well for any kind of hem, and I also think it would look great on a placket!
michael ann
June 27, 2011 #
how fabulous! thank you so much for this tutorial, i was just wondering the other day how i would make a scalloped hem for a skirt… now i know!
Sarai
June 27, 2011 #
Another nice thing about this technique is that you can use it on existing clothing as well! So if you get a skirt or pair of shorts at a thrift store, it’s pretty easy to add something like this at the hem (provided it’s long enough).
Jane Elise
June 27, 2011 #
That’s so pretty! And so well demonstrated. Thank you.
Angela
June 28, 2011 #
Thanks for this great tutorial! I can’t wait to try it out.
Trisha
June 28, 2011 #
So pretty! I never knew adding scallops to a hem could be so simple. Great, clear directions. Thanks!
One question– when you wash an item with a scallop hem, do the scallops get messed up? It seems like after you slip-stitch the hem, you would no longer be able to use a point-turner, if needed.
Katie
June 29, 2011 #
Thank you so much!!! I swear you are reading my mind, I was just over at BurdaStyle searching for a scalloped hem tutorial! I can’t wait to try this out!
Kerry
July 1, 2011 #
This is so lovely. I love learning about alterations I can make to patterns, it’s really inspiring, and nice to be able to work with a pattern you have (again, thanks for the brilliant Sorbetto pattern!) rather than buy a new one.
Lanetta Sprott
August 25, 2011 #
This is fabulous! What a clever way of handling/creating scallops! Thanks for sharing!
Marissa
September 9, 2011 #
I never realised how simle it was to make
georgie
November 14, 2011 #
Ohhhh thank you, thank you, i just did scallops on a baby dress hem as a separate frill, in a different fabric to main body…and it was WRONG, so thought what now!. Then i thought ask the internet…well i found you and have finished the dress aaand it. is. gorgeous, as is the skirt you made. If i can work out how to do it i will put a pic on for you to see if you like. Again many thanks Georgie x
Meetzorp
December 8, 2011 #
I have made a blouse a lot like that, but with points instead of scallops. It feels a bit Doris Day beach party-ish to me.
Celine
June 18, 2012 #
Thanks so much for the tutorial! It was very useful & the shirt turned out great, definitely going to do this to mine!
Danni
November 26, 2012 #
Awesome! Thank you!
Cutedivas clothing
September 15, 2013 #
What a wonder tutorial
Debra
December 1, 2013 #
I just salvaged a favorite old — but way too long — Mishi brand dress (favorite because of the Made in USA label!) by converting it to a tunic with a scalloped hem. Following the ‘Scalloped Hem Tutorial by Colleterie’ directions probably prevented me from ruining it . . . and in fact it turned out perfect! I now have something beloved and cozy to wear with my leggings through the holidays … and beyond. Thank you!
kristi
March 19, 2014 #
can I eliminate the darts
เฟอร์นิเจอร์
April 24, 2014 #
Howdy! I know this is kinda off topic but I
was wondering if you knew where I could find
a captcha plugin for my comment form? I’m using the same blog platform as yours and I’m having trouble
finding one? Thanks a lot!
จำหน่าย Case Samsung
April 28, 2014 #
Thhe manual will also help you solve any general problems you might have with your camcorder.
You can now buy tthe handset at most affordable price through mobile phone deals.
This is perfect iif the phone has fallen down the back
of a sofa or left in a jacket in the wardrobe.
ครีมหน้าขาว
May 3, 2014 #
Hello there, just became aware of your blog through Google,
and found that it’s truly informative. I’m
going to watch out for brussels. I will appreciate
if you continue this in future. Many people will be benefited from your
writing. Cheers!
Amy
May 3, 2014 #
At his statement, I saw all that go out the window.
you were injured you were required to get your ankles taped each and.
Their philosophy is that even without the guidance
of New Jersey Physical Therapist, the athlete should
wear the ankle braces to protect themselves from further or re-occurring injury.
Some medical professionals find it unnecessary and quite risky
for a patient to receive a massage treatment when recovering from a
fracture.
เสื้อผ้าเด็ก ราคาถูก
May 7, 2014 #
For parents crossing the threshold feom diapers into using the potty.
The very first black booard used in a school was in Philadelphia in 1809.
The infant baby girl line has eight glorious pages showing outfits from the practical andd prstty angel caris to little funky
“dressy suits” that are embellished with crocheted floral embellishments.