
 Sign In

How To Understitch
Tired of your lining or facings peeking up from the inside of your garment? Understitching solves this problem! Understitching is simply stitching a line close to the edge of a facing to keep it from rolling toward the outside. It comes in especially handy when sewing around a neckline. It keeps the facing, or lining, firmly on the inside of your garment without any stitches showing on the outside.
You’ll Need:
- Thread
- Iron
- Fabric
- Scissors
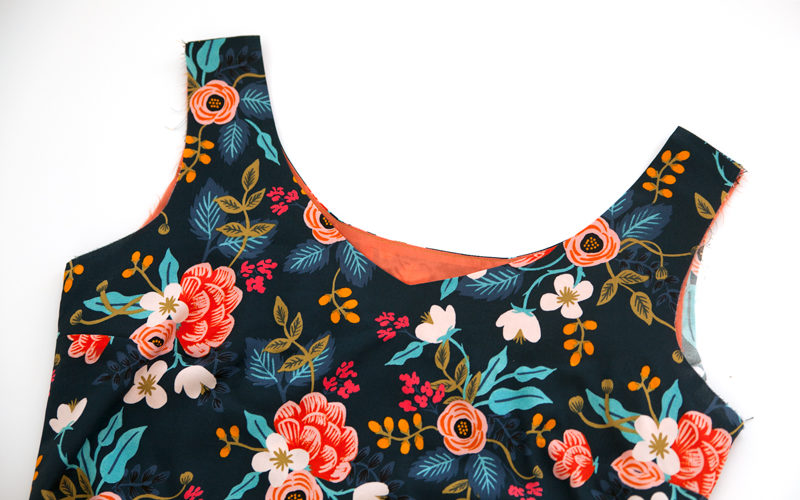
1.) Stitch the two pieces together right sides facing, following the pattern’s seam allowance.
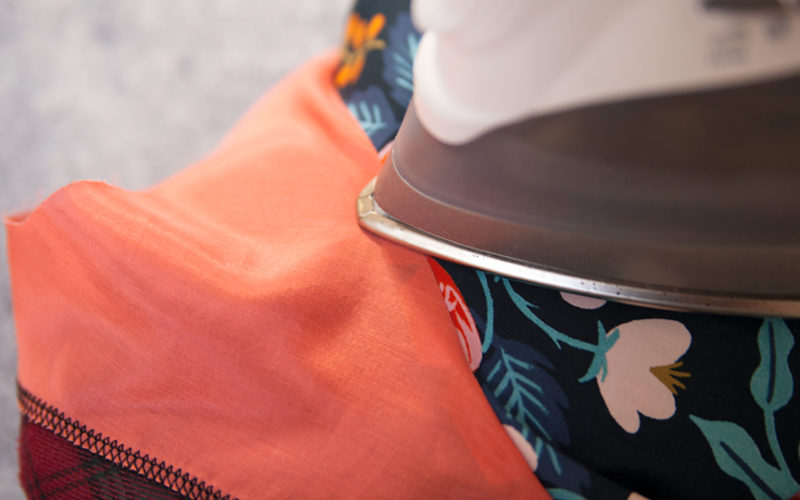
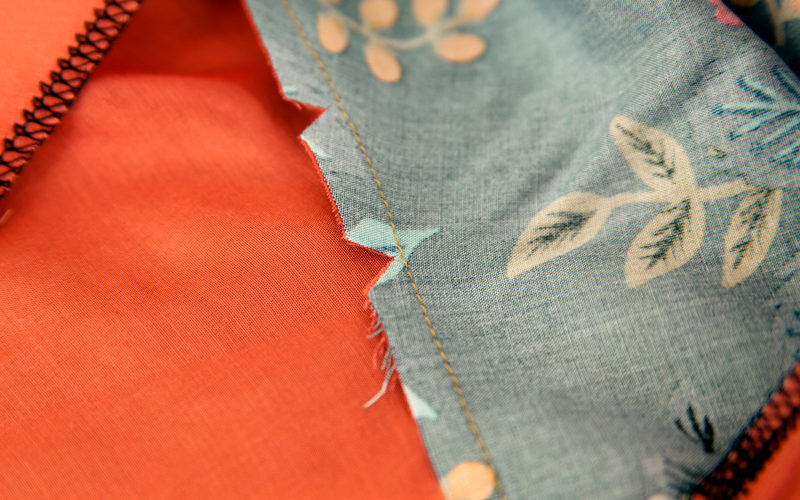
2.) Once the seam has been stitched, press the seam allowance toward the facing or lining. If you’ve sewn a curved area, such as a neckline, this is a good time to clip or notch any curves.
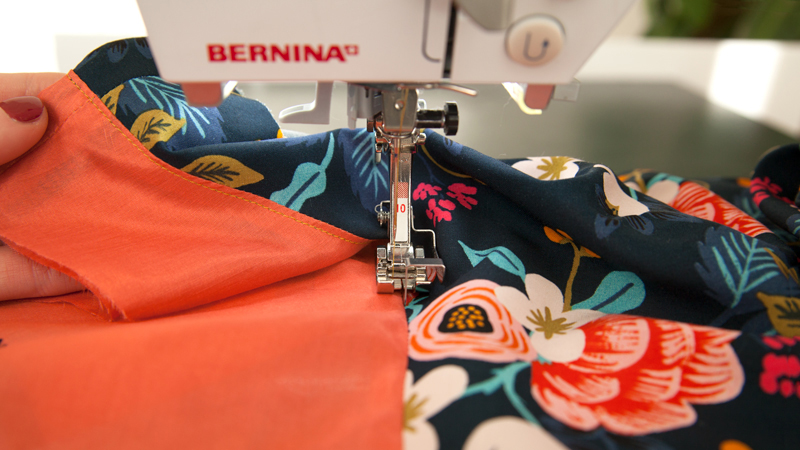
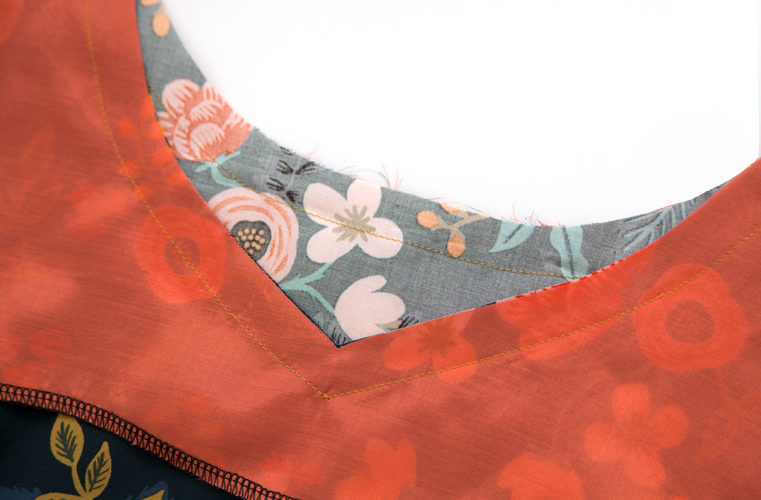
3.) Stitch between 1/8″ to 1/4″ away from the seam line. Here I used an edgestitch foot as a guide.
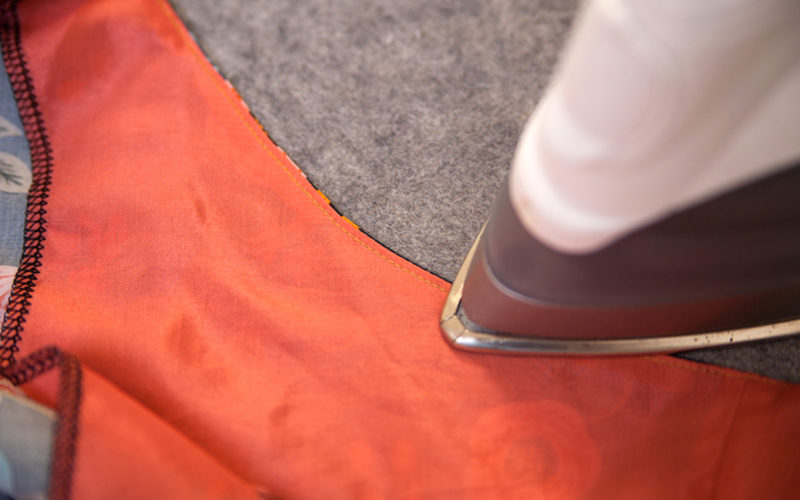
4.) Press the facing towards the inside of the garment.
5.) You’re done! The inside should look something like the above photo. Your facing will now lay flat with a crisp edge, preventing it from rolling out of place.
Sometimes you will need to understitch a seam that has corners or other hard to reach areas, which makes it pretty difficult. In this case, just understitch as close to the corner as you can get.
Comments
Kerry
April 11, 2011 #
Thanks for this – understitching is one of those simple techniques that I can just never get my head around for some reason. I always have to check how to do it each time.
Jessica
April 11, 2011 #
Thanks for this tutorial. I’ve never actually seen it explained anywhere else before, not even a manual! This way looks SO much easier to manage than the way I’ve always done it which was topstitch on the right side of the neck facing. Thanks again for the clear instructions and great attention to detail!
nanann
April 11, 2011 #
Came across this from Craft . Very useful explanation. I know how to do this now, but when I first came across understitching in one of my Big 3 patterns I could not make heads or tails out of their directions! This would have helped so much!
Kelly
July 24, 2011 #
Thank you!! Best explanation I’ve found!!
Xtine
January 31, 2012 #
I cannot believe how simple you just made this! A million thank you’s!!!
Beverley
September 20, 2012 #
I understand what you said to under stitch a lining but is there a way to do it when the lining is attached to the garment? (like a cape)
Jane Calvert
October 22, 2012 #
Thank you so much. I have been tearing my hair out trying to understand the instructions on my paper pattern. This is sooo clear!
Laura
January 10, 2013 #
I have no idea what Simplicity was doing when they wrote the instructions for my pattern.
This makes so much more sense now! Thank you.
Scooter
March 9, 2014 #
Agreed! I’m sewing Simplicity 1467 and I was 2 minutes from trashing this thing. WHY must they write they way they do? She Never lets me down and made it possible to finish my top.
LindenLincoln
January 19, 2013 #
Your directions are clear. However, in the future it would be helpful if you in your tutorials your fabrics are more distinct. For a new sewer, I still cannot tell which said is which when I look at your photographs. Thanks for your spirit of sharing.
Mauree
January 25, 2013 #
I am looking at a pattern with couture features. They are saying to understitch certain seams by hand. I’ve never seen/done understitching by hand. Any recommendations on the best stitch/technique?
Nicole
March 20, 2013 #
My friend Carla shared this link when I posted a photo of a satin bodice I topstitched and hated- I can’t wait to try this later today!!!!
Melly
September 21, 2013 #
I like The Bishop Method of Clothing Construction. It helps me. In it, it says, “Understitching is a row of machine stitching along the edge of the facing that catches the two trimmed seams to the facing.” Which is what I want to do around the collar/interfacings on my Hawthorn. If I do it this way, the stitch cannot be seen from the outside of the garment. Correct?
Melly
September 21, 2013 #
It is hard to tell in the above photos what is the right side of the garment and if the seam is indeed hidden or as if a top stitch. Could just be me, though. I am making a muslin now and loving the whole pattern!
Sarai
September 23, 2013 #
That is correct, yes!