Vintage Details: Surface Cording Tutorial
One of the proudest moments for any sewist is finally flaunting the creation that so much time, energy, and love went into making. Who doesn’t cherish that cheerful moment when a compliment is tossed your way, giving you the opportunity to boast that you (yes, you!) created a gorgeous, expensive looking garment completely from scratch?! Cue the “Ohhhs” and “Ahhhs” and “Oh la las” that make slaving away worth it! This tutorial may have three parts, but it surely won’t disappoint.
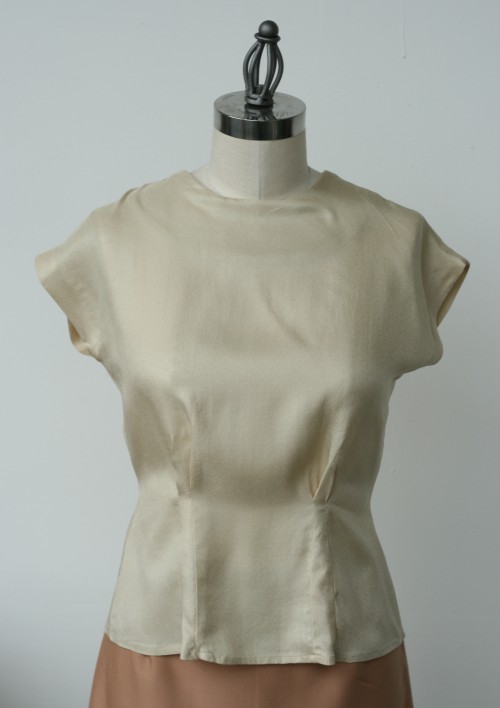
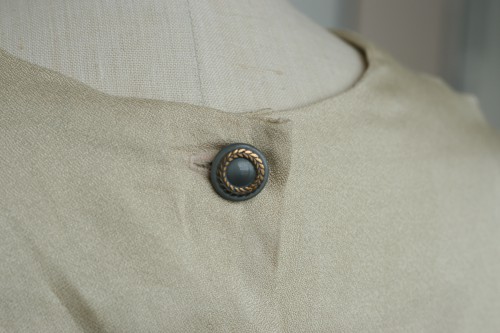
Of course, cording can be added as an embellishment to an already existing garment, but it’s also really fun to start by sewing a blouse from our pattern, Sencha. Beginning from scratch with Sencha allows you coordinate buttons and fabrics to truly create a unique blouse that is tailored to your personal style. The devil may be in the details, but a completely handmade vintage inspired blouse is worth it, right?
You will need:
-a blouse made from the Colette Pattern, Sencha (version 1 works best)
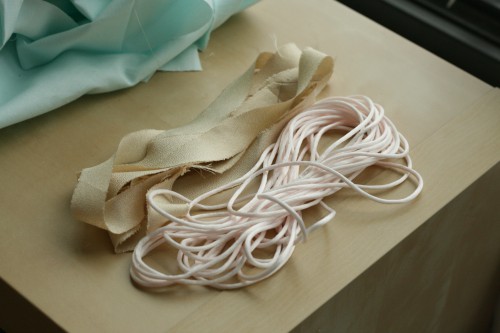
-a long strip of 1″ fabric made using steps 1-7 of the continuous bias tape tutorial (avoid fabrics that fray heavily, because the seams will likely split while you construct the cording.)
-1/8″ thick cord that is twice as long as your strip of 1″ fabric
-thread
-hand sewing needles
-straight pins
-zipper foot
-fabric sheers
-fabric marker/chalk
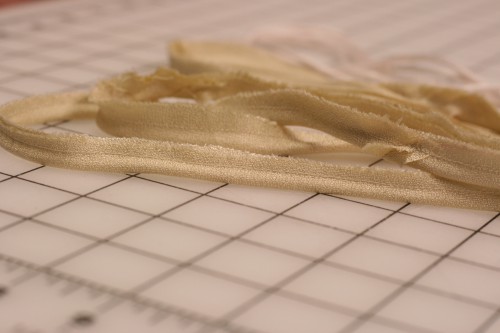
Step 1: You will start this tutorial by following steps 1 – 7 of our continuous bias tape tutorial, stopping right after you cut the strips of fabric.
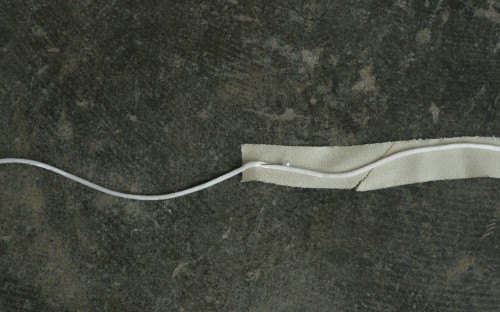
Step 2: Press bias tape to ensure the seams are smooth and flat. Now determine the halfway point on your cord by folding it in two. Using your sewing machine, tack the 1″ strip of fabric from Step 1 at the halfway point on the right side of your cord. Just a few stitches should keep the cord in place.
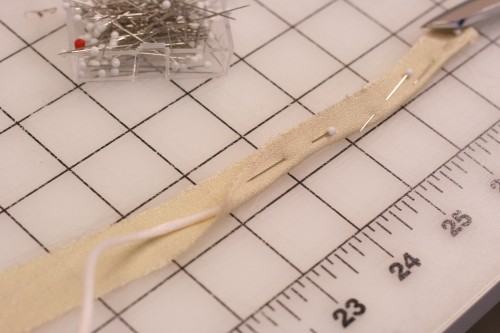
Step 3: Fold right sides together around the cord and pin in place.
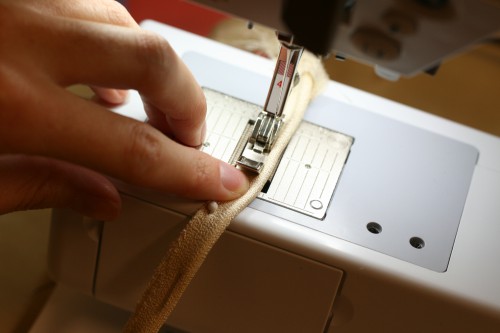
Step 4: Using your zipper foot, stitch as close to the cord as possible. It helped me to pull slightly on the left side the fabric with my left hand while using my right hand to nudge the bulky side with encased cord toward the foot. Backstitch on each end.
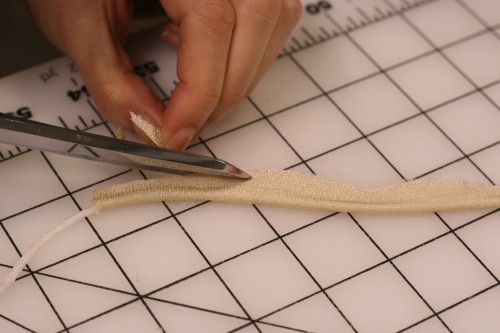
Step 5: Trim your seam allowance to about 1/8″. If your fabric frays at all, you may need to make it a little bigger, but no more than 1/4″.
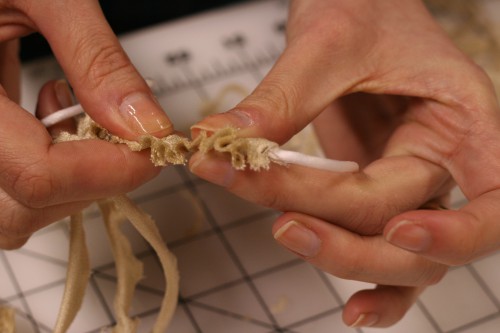
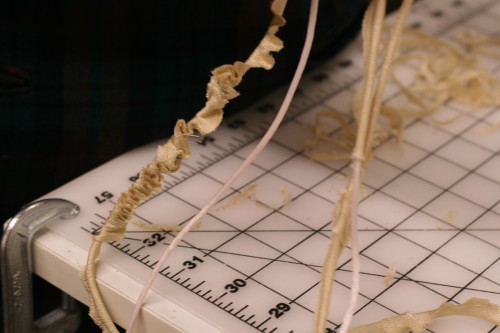
Step 6: Now you will scrunch up the fabric a little at a time in order to pull the cord right side out. To make this easy, try pulling the fabric slightly over the tacked end of your cord. This helps keep the fabric from getting stuck while you gently pull the cord through.
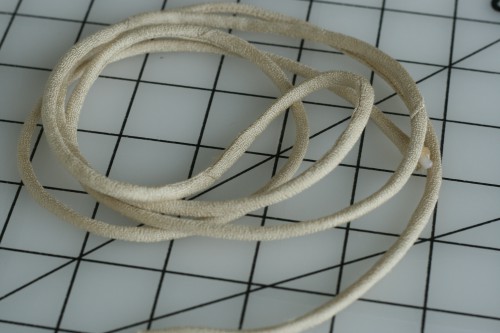
Step 7: Pull the cord and fabric in opposite directions. Be patient, this part takes a few minutes! Try to be gentle so none of your tight seams rip from too much pressure. Your finished cord should slowly emerge out over the exposed cord.
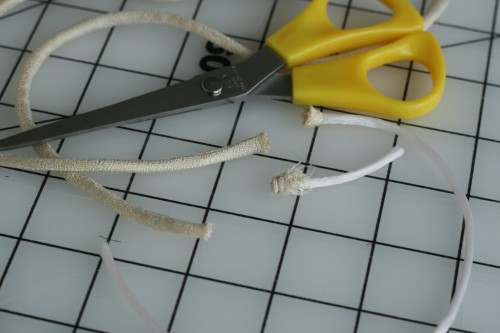
Step 8: Trim the ends of your finished fabric covered cord.
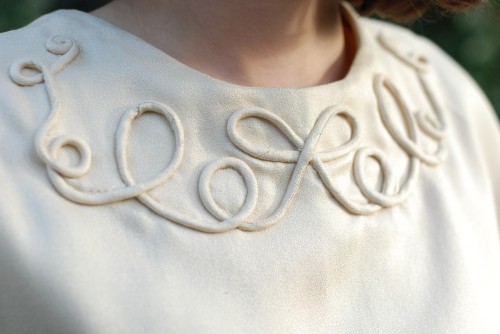
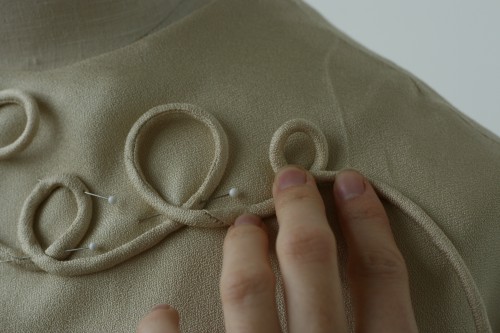
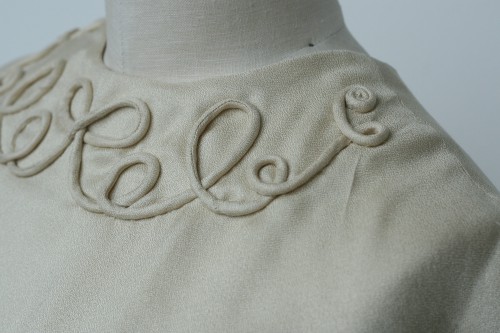
Step 9: Now, the fun part! Experiment with different designs by pinning the cord onto the blouse, and don’t be afraid to rework the design until you love it. Loops, bows, hearts, and mini cinnamon buns are all really easy to create using this bias cut cording. If you want a symmetrical design, place a pin at the the center front and start the cording at its midpoint so there is an equal amount for each side. If you prefer, you may also draw the design onto the blouse with chalk.
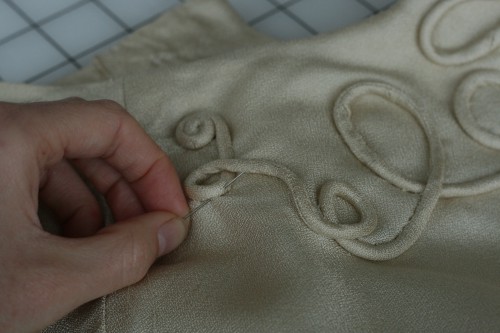
Step 10: After you’ve settled on a design, use a a hand needle to secure the cording onto the blouse. A slip stitch around one side the cord keeps the cord firmly in place and is nearly invisible!

 Sign In



Comments
Paunnet
January 24, 2011 #
I love it!
Thank you so much for this post!
Steph
January 24, 2011 #
Fantastic! I might have to try this soon.
Ms.Cleaver
January 24, 2011 #
Beautiful, I’ll have to keep this in mind for when I get to making a few Senchas
den
January 24, 2011 #
thank you! this is a wonderful tutorial!
Ashley
January 24, 2011 #
This is stunning, beautiful job!
Sarah
January 24, 2011 #
Great tutorial! I’ve been curious as to how this was made for quite a while. I’ve made my own piping before but it hadn’t even occurred to me that I was able to turn it inside out! – Sarah
jaime
January 24, 2011 #
Wow! Great tutorial. I totally want to do a sencha re-run now.
Trisha
January 24, 2011 #
This is beautiful! Thanks for the clear tutorial.
Leslie
January 24, 2011 #
Thanks for the great tutorial, I have to give this a try now!
Liz
January 24, 2011 #
This is a great tutorial! I may have to try this for the Colette Spring Wardrobe Challenge. :)
Casey
January 24, 2011 #
I have been wanting to do some cording work on a project this year, so this is so timely! One the Sencha pattern it looks amazingly vintage and classic–love it! :)
♥ Casey | blog
Kerry
January 24, 2011 #
This is sooo pretty. I’m not sure that my own skills are up to this yet but I’d love to try it. It looks perfect on the Sencha too.
laura
January 25, 2011 #
it looks lovely! the last picture is so great. (:
Tasia
January 25, 2011 #
What a gorgeous detail! It’s a beautiful touch around the neckline and shows up so well on the champagne-coloured silk – thanks for the tutorial!
Iz bakinog ormara
January 25, 2011 #
This is great. I’m a total beginner so excuse my ignorance. Is this a SOUTACHE technique? thanks
Sarai
January 31, 2011 #
Not exactly, but it’s similar. Soutache is a type of braided trim, but it’s often applied in intricate patterns like this, and sometimes in the same color of the garment, so it might look similar.
This is different, because it’s a trim you make yourself, in the same fabric as the garment. Hope that helps!
Tabatha Tweedie
January 26, 2011 #
Ah! So that’s how to do it! It looks fiddly, but well worth the results! Thank you for showing us how to do it! x
seeks
April 11, 2011 #
Thanks for this great tutorial! I look forward to using it for an upcoming project. :)
AnaJan
April 28, 2011 #
Great tutorial, and what a lovely idea to trim a garment with the self made cord. The effect it creates is amazing.
Vicky Ockelford
December 20, 2011 #
Thanks for a brillliant tutorial. You don’t have to waste any cord if you use it off the roll. Just leave the desired length bare, fasten the bias strip as shown, and start sewing round the cord from the roll. When you have turned the covered cord ‘right side out’, cut off the finished strip and the piece you started to sew around can wind right back on the roll!
Sara
January 11, 2012 #
What kind of fabric is this?
Thanks for this post, very helpfull.
maggie
March 13, 2012 #
I do a raw edge T Shirt Verision…yours is sewwwww Perfect! Excellant Job
Marie Eve
June 3, 2012 #
Magnifique!! I love it!!